There are no items in your cart
Add More
Add More
| Item Details | Price | ||
|---|---|---|---|

By Ravee Verma, Founder — Pre Tutorials · Updated August 2026
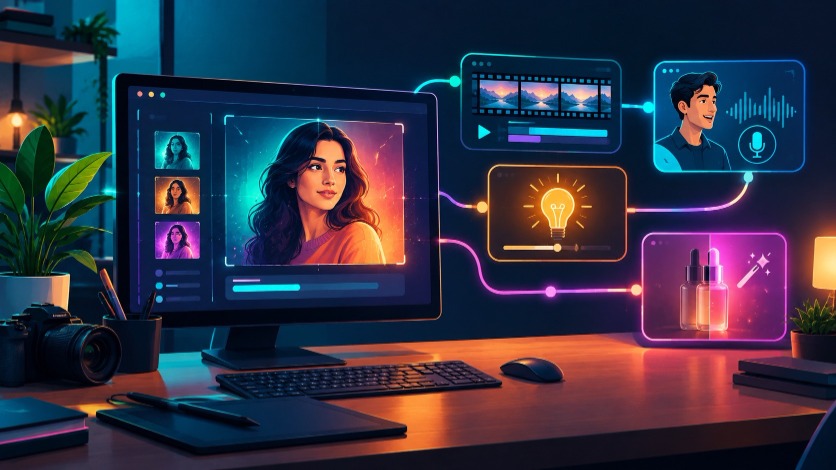
Quick answer: the fastest creative pipeline in 2026 chains eight tools: Midjourney (generate the image) → Pollo AI (image to video) → HeyGen (talking avatar / lip-sync) → Magnific AI (lighting + upscale) → Flair AI (product-in-hand shots) → Runway (edit / replace objects) → Pika (swap elements inside video) → Canva AI / Adobe Firefly (commercial-safe finishing). One idea in, a finished branded video out.
In this article
Most “best AI tools” lists dump 50 names on you. What creators actually need is a pipeline — which tool does which job, in which order. Below is the exact 8-step stack we teach students at Pre Tutorials, with what each tool is best at.
| Step | Tool | Job |
|---|---|---|
| 1 | Midjourney | Generate the base image |
| 2 | Pollo AI | Animate image into video |
| 3 | HeyGen | Talking avatars & lip-sync |
| 4 | Magnific AI | Relight, enhance, upscale |
| 5 | Flair AI | Product shots with AI models |
| 6 | Runway | Remove / replace objects |
| 7 | Pika | Swap elements inside video |
| 8 | Canva AI / Firefly | Commercial-safe finishing |
Describe your concept and let Midjourney create the visual. Be specific about subject, lighting, environment and camera angle, and always add --ar 16:9 for video work. Generate four variations and upscale the strongest one.
Upload your image to Pollo AI and use Image to Video. Describe the motion in one line (“slow zoom-in, particles drifting, cinematic”). Six seconds of smooth motion is the sweet spot for reels and ads.
Need a face and a voice? HeyGen's avatars read your script with accurate lip-sync in Hindi or English. Perfect for course promos, product explainers and news-style updates — no camera, no reshoots.
Run your frames through Magnific to correct lighting, add detail and upscale to 2K–4K. The “reimagine” slider can rescue flat, dull generations — keep it low for products, higher for art.
Flair AI is built for branded product photography: upload your product photo, pick a template or an AI model, and get studio-grade shots of the product being held or worn — no photoshoot needed.
Runway handles background removal, object replacement and generative fill on both images and video. Use it to clean plates, remove logos you don't have rights to, or restage a scene.
Pika's video editing can change a specific element inside footage — swap the drink can, change the outfit colour, replace the screen content — while the rest of the shot stays untouched.
For client and ad work, finish in tools trained on licensed content. Firefly's generations are commercially safe by design, and Canva adds brand kits, templates and one-click resizing for every platform.
Yes — for a zero-budget version see our guide to the 10 best free & open-source AI video tools in 2026. Kling AI and CapCut also cover steps 2 and 8 for free.
Start with one generator (Midjourney) and one animator (Pollo or Kling). Two tools + good prompts beat ten tools you barely know.
Yes — that is exactly what it is for. The full ad-specific version, with prompts by niche, is in our step-by-step AI video ads guide.
Learn these tools hands-on, in Hindi + English
The Live AI & ChatGPT course and Claude AI Mastery Program (₹999) at Pre Tutorials, Hazratganj cover this exact workflow with live projects. Book a free counselling call · 95544 53555.
 Launch your Graphy